
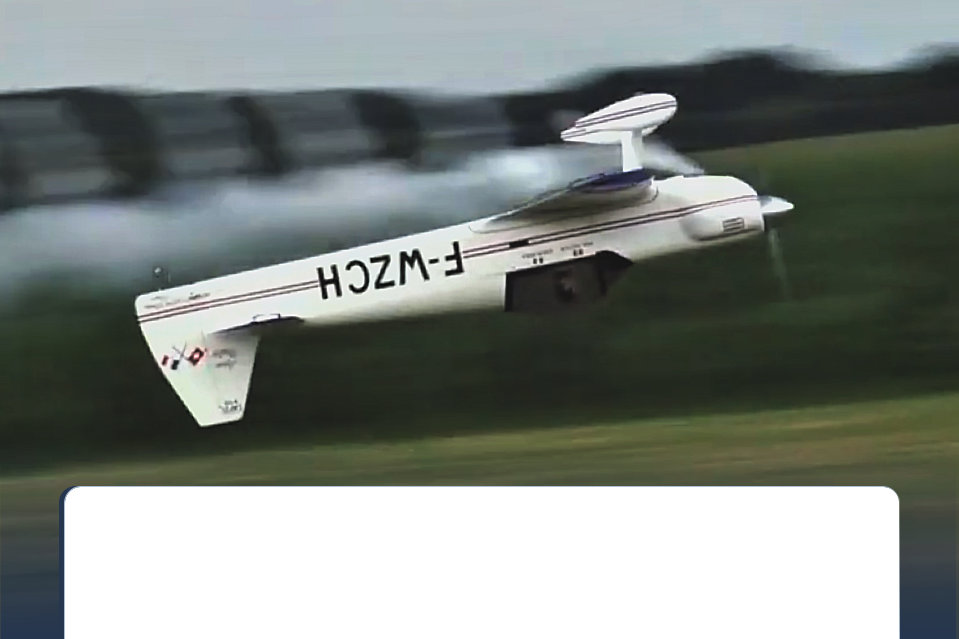
Druine Turbulent


.
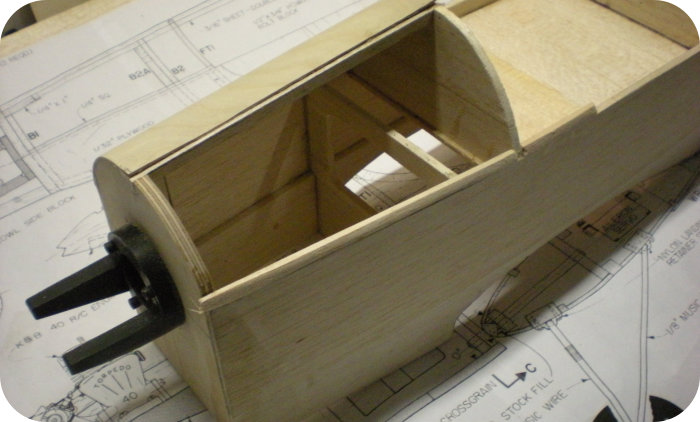
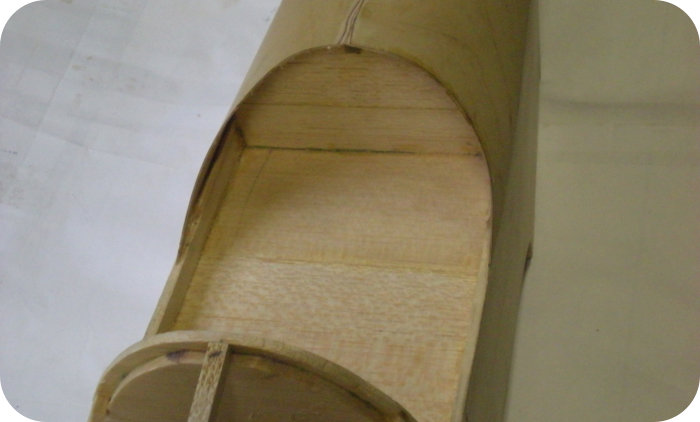
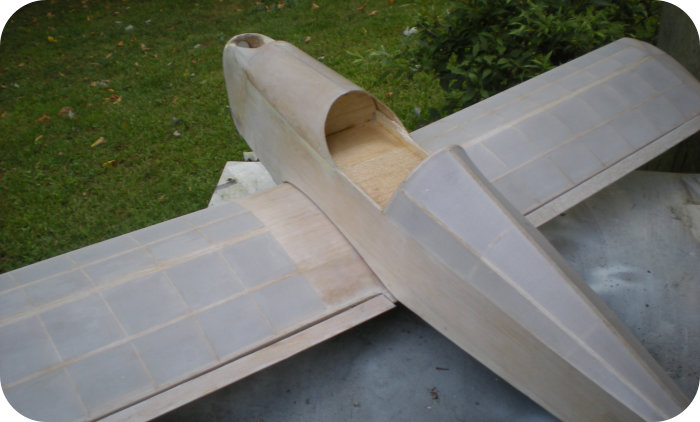
Tank Compartment
Ample room in the forward fuselage
compartment for batteries and just
about any sized tank.

R/C Aircraft Insight From Low Altitude

John W. Blossick
Tail Slide Haven
johnb@tslidehaven.com
October 2020
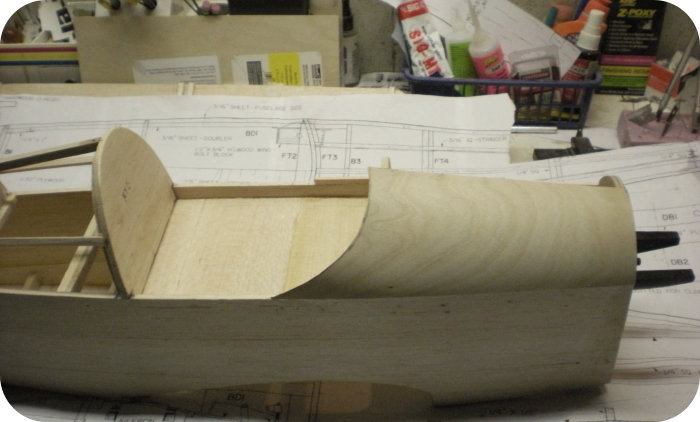
Fuselage Front
Another side view showing fuselage
plywood bent over and glued to spruce
center stringer.
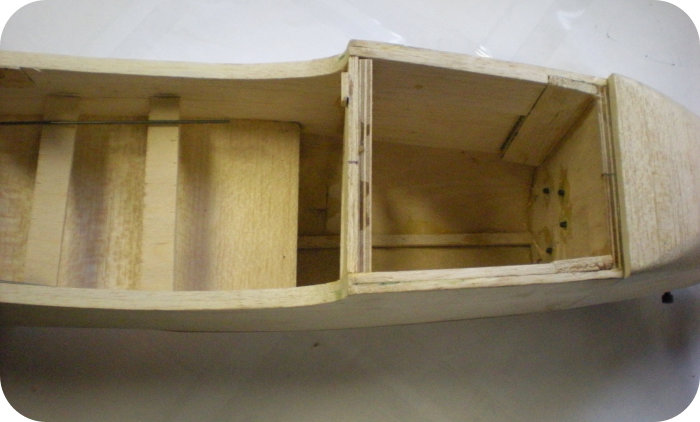
Fuselage Bottom
Servo mounts installed. The underside
of the tank compartment will be covered
with 1/4” sheet and sanded to match
fuselage and cowl contour.
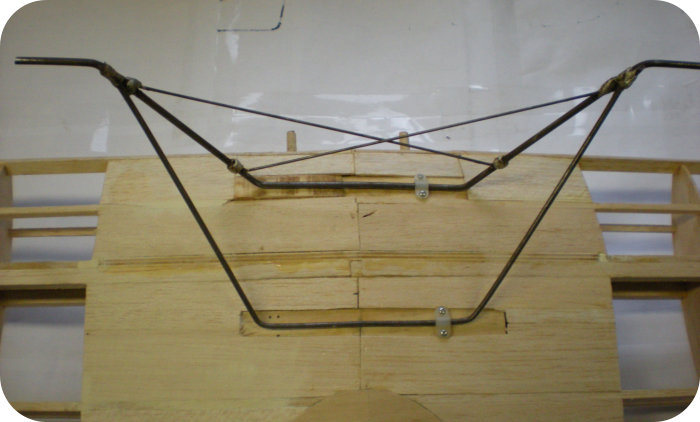
Landing Gear
Okay, I’ll admit it. Bending and
soldering the landing gear was
annoying and time consuming. Despite
the effort, it’s strong and should hold up
well.
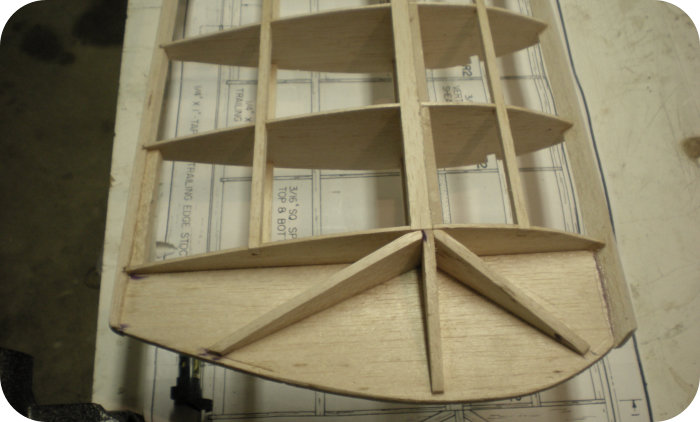
Wing Tip
The tips are reminiscent of the internal
soundboard bracing used in a Kasha
braced acoustic guitar and traditional
fan bracing. The tips however, need not
be tuned....just laterally balanced!

Top View
3/16 square stringers and formers
make up the turtle deck

Ailerons and Center Sheeting
Center sheeting and ailerons are added
to complete the wing structure.
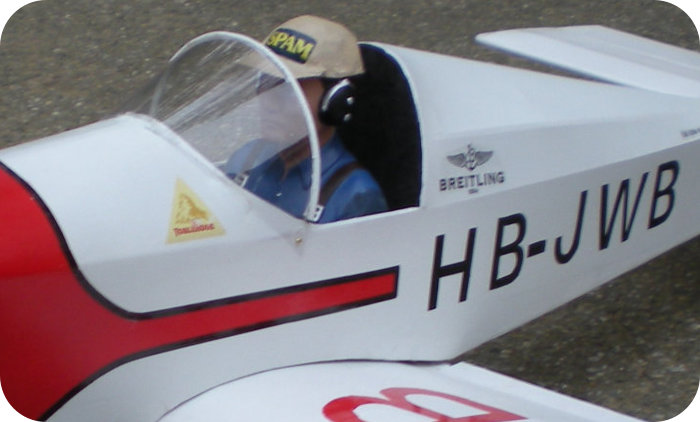
Cockpit Area
Large area for pilot, detailed instrument
panel, switches, and charging jack.
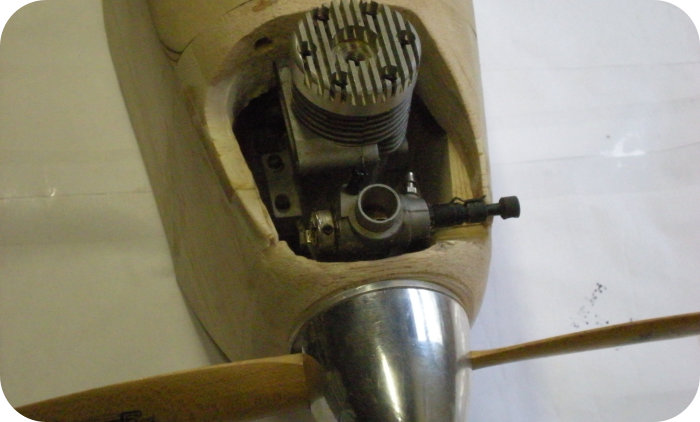
The Business End
A Dave Brown engine mount was
used to bolt a Magnum .45 to the
firewall.
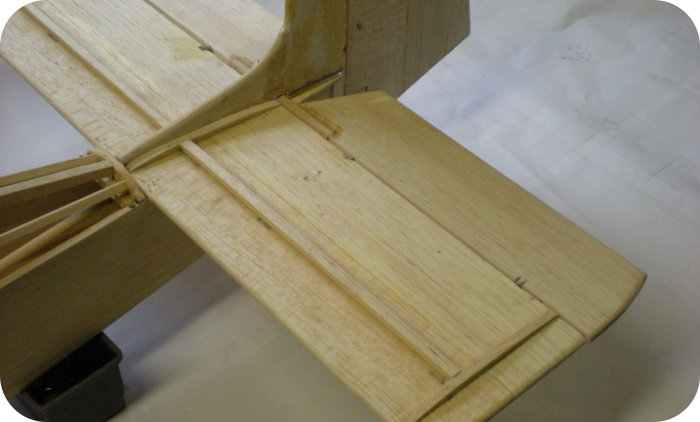
Horizontal Stabilizer
The spars on the horizontal stabilizer
will produce an airfoil shape once
covered. The result? Exceptional lifting
qualities for quick takeoffs and slow
landings.
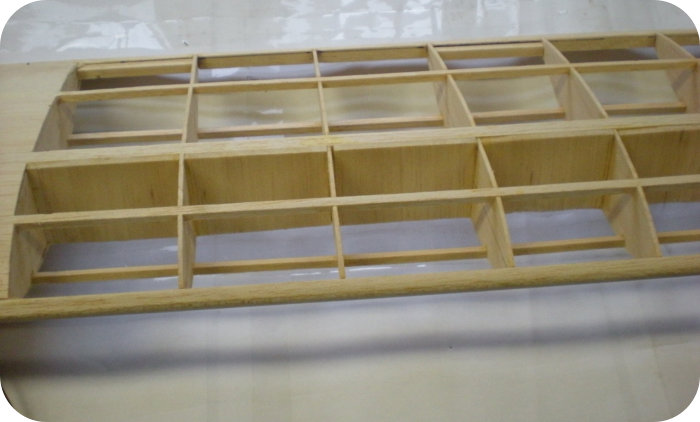
Shear Webs and Leading Edge
The thickest shear webs on the planet
for a .40 sized airplane. 3/16” was used
and despite the thickness, they didn’t
add much weight.
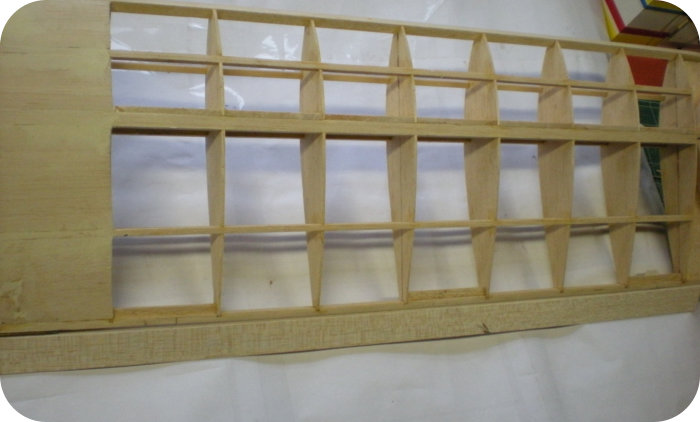
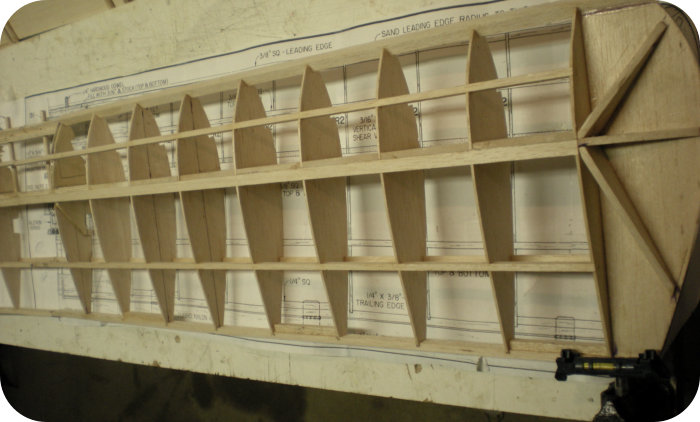
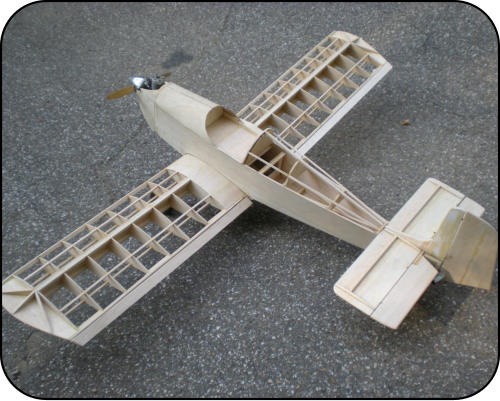
Right Wing Half
Despite looking rather spindly without
sheeting, the wing is super strong. No
leading or trailing edge sheeting is
required in the plan.
I had been looking at the Durine Turbulent for a long time before finally deciding
to build one. A popular modeling subject for
decades, the Turbulent has been modeled
in virtually every size imaginable. A rubber
powered peanut scale airplane wasn’t what
I really wanted to build, nor did I want
something so big I would need a trailer to
haul it around!
I eventually chose the .40 sized RCM plan
designed by Chuck Cunningham. With a
60” wingspan, the size was right, I have an
engine that fits the airplane plan and I liked
the paint scheme too.
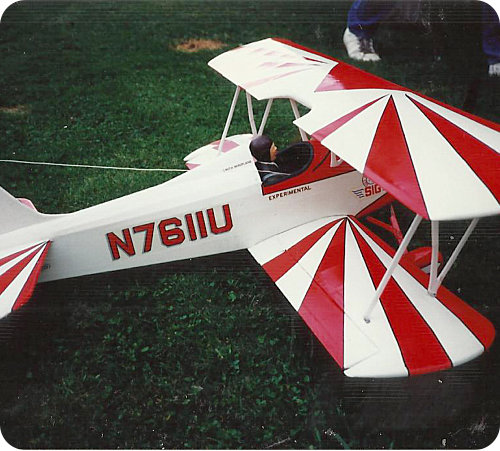
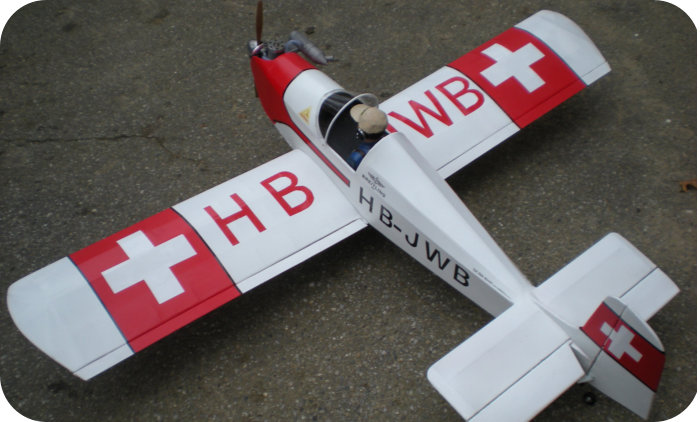
Depicting a Swiss motif from the land of a
thousand postcards, the paint scheme
placed the Swiss flag on the top of each
side of wing and the rudder/vertical fin.
Black trim and lettering added some
contrast to the red and white making the whole paint scheme pop. The Swiss
flag also reminded me of Switzerland, of course—then skiing, the Alps, fondue,
Swiss cheese, chocolate, and fine time pieces—all good things. About the
Turbulent...
Still being flown today, the Druine Turbulent was the brainchild of the
Frenchman Roger Druine. First flown in 1951, the Turbulent is a cantilever
wing, home built ultralight aircraft with an empty weight of 349lbs and powered
with a 30hp Volkswagen or similar engine. With a 1600cc VW engine, cruising
speed is around 80mph and has a climb rate of 500fpm. Not too bad, but the
aircraft certainly isn't a speedster, nor is it aerobatic. Aerobatics won't be a
problem for the .40 sized Turbulent though. The model will easily outperform
the scale Turbulent and look good doing it.
For a scale project, it's not difficult to build, and the wood sizes on the plan
make the Turbulent very sturdy. It will easily withstand the occasional double
bounce landing if you're prone to that sort of thing. Onward to the build...
A Word About Covering
I’ve decided to use Sig Koverall and Supercoat dope for covering. I used Koverall on a Smith Miniplane
before and painted it with Pactra Formula-U polyurethane paint. I was pleased with the results. Although a
heat shrink covering will work just fine, a painted surface will look more realistic. Moreover, Koverall is far
easier to apply than heat shrink coverings. It goes around, adheres to, and shrinks around curves wrinkle
free. Dope is also...well...what real airplanes are painted with. I haven’t painted an airplane in awhile, so it’s
time to gear up.
Will dope stink up the joint when you use it? Heck yes it does! Especially when it’s sprayed. It can also cause “permanent brain damage and nervous system damage”..and...”deliberately inhaling the contents may be...harmful or fatal.” Oh, yeah! Now we’re building airplanes!! Of course, when spraying dope one has to take the necessary precautions and use a respirator for sure. Recreational sniffing of noxious chemicals is strictly forbidden. Anyhoo, the effort put into this type of finish is entirely worth it. In actuality, it’s not that difficult. No magic or voodoo, just simple techniques modelers have used for decades.

Find The Best R/C Engine
Deals
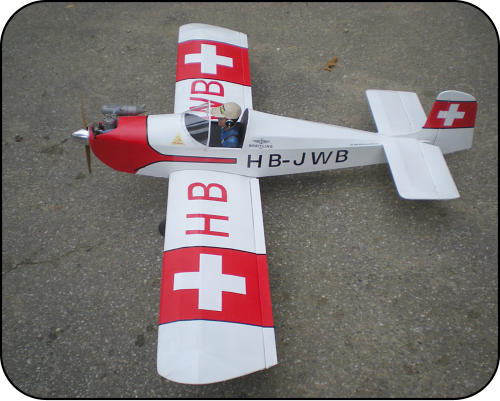

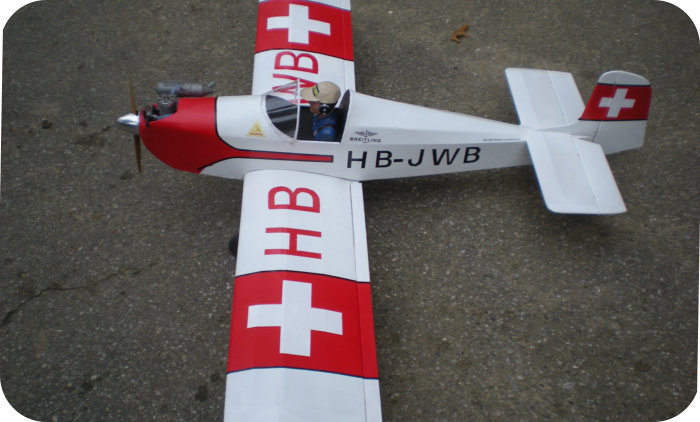
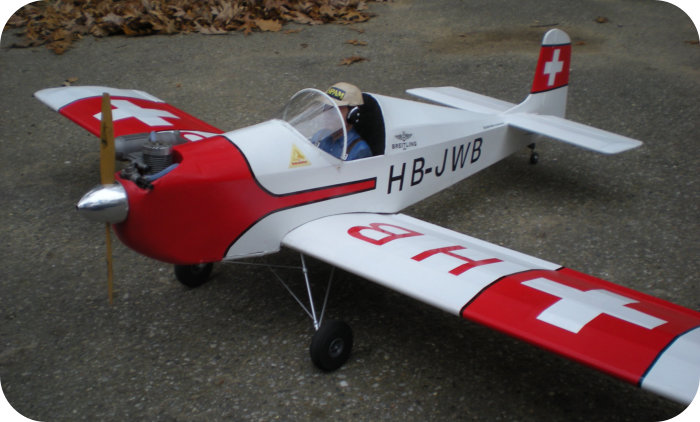
Completed Druine Turbulent

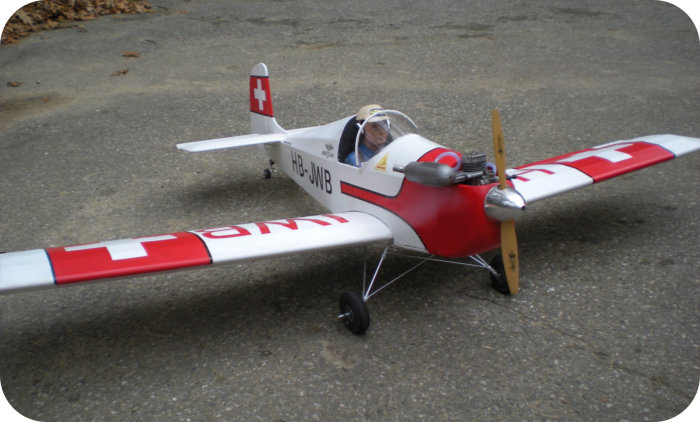
Airframe covered and filled
with three coats of Sig
Nitrate Dope.
Actually, it’s 99.9% completed. The RX
battery, battery switch, and receiver need
to be installed along with the final
balance.
Finishing with sprayed butyrate dope or
paint is considerably more work than an
iron on film. But—for authenticity and
reproducing the fabric covering used on
full sized aircraft, fabric covering and
paint is the best way to go..
The Swiss crosses were cut from white
Ultracote. The black and red letters were
cut from craft store vinyl and 3/16
Ultracote striping finishes the trim.
Decals were made with decal paper and
the ink jet printer.
The paint scheme should be easy to see
in the air and I find it rather pleasing to
look at. All that remains is to finish up a
few items, buy some Swiss chocolate,
head to the flying field and put the
Turbulent up!


tslidehaven.com
Top of Page
