
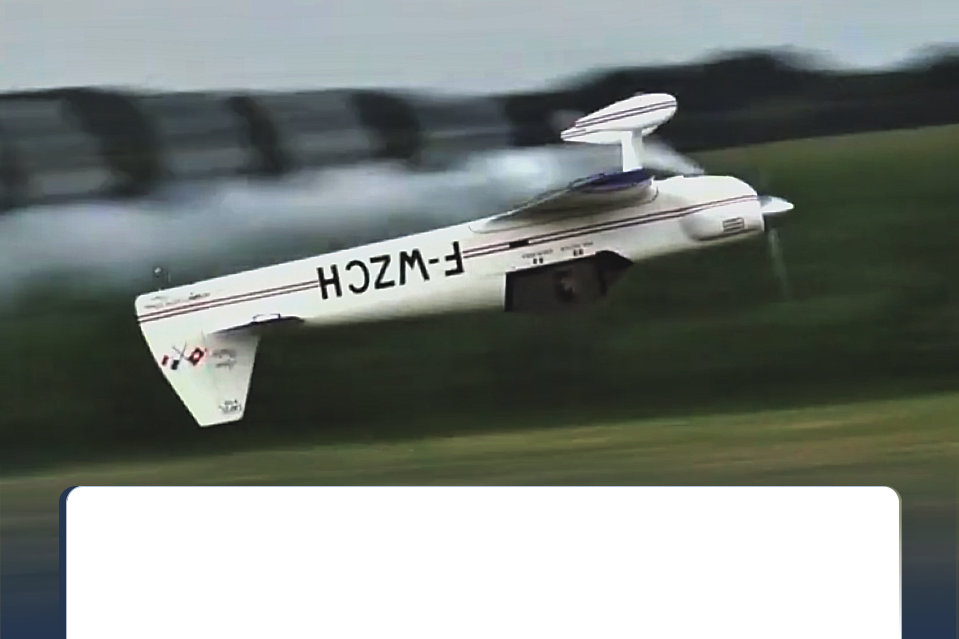
Miss Martha-Build


.
Miss Martha Parts
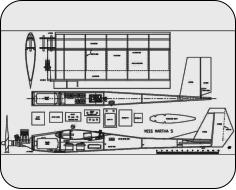
Minimal parts are required to build the
Miss Martha.

R/C Aircraft Insight From Low Altitude
John W. Blossick
Tail Slide Haven
johnb@tslidehaven.com
January 2021
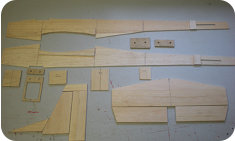
Wing Ribs
Wing ribs cut, sanded, and ready to go.
Note the jig tabs at the rear of the ribs.
When added to any symmetrical or
semi symmetrical airfoil they alleviate
the need for a wing jig.
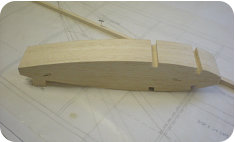
Wing Servo Bay
I decided to outfit the wing for dual
servos to take advantage of mixing
in flaperons. Servo wire tunnel is
made from paper file cabinet folder
hangers.
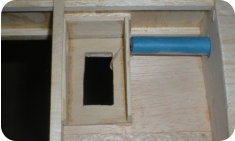
Aileron Wire Tubes
View showing aileron wire tunnels, center ribs, and lower sheeting.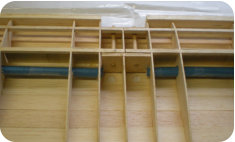
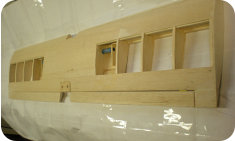
Completed Wing
Strong and light constant cord design.
Aileron stock is an oddball size. 1/2”X 1
1/2”.I had to glue together two 1/4” X 1
1/2” pieces for each aileron.

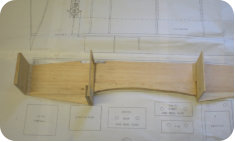
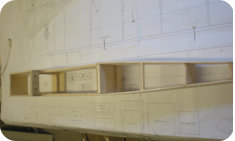
Fuselage Construction
Bulkheads are glued vertically to one
side along with the wing saddle and
wing hold down doubler.
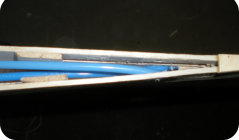
Tail Area
The rear of Miss Martha tapers rapidly
and is very narrow. To keep the
control rod exits close to the flight
surfaces Sullivan semi-flexible Gold-
N-Rods were used.
Fuselage Sides
Right side of fuselage is placed
upright and glued to bullheads with
landing gear plate. Aligned and
pinned over plan to keep square.
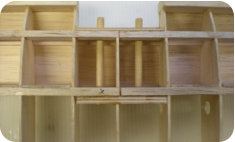
Wing Center Section
1/4” plywood wing joiners hold
wing halves together. 1/16” shear
webs, sheeting top and bottom
with cap strips finish up the wing.
Have You Ever Heard of Miss
Martha?
Most likely, no. Unless you’ve been around
RC airplanes since the mid 80’s you
probably never have.
The Miss Martha takes us back to the early days of airplanes designed for Fun Fly competition. Fun fly airplanes were typically overpowered and could perform outrageous aerobatics. Numerous rolls and loops in the blink of an eye were not uncommon, yet they could slow to a virtual crawl upon landing for spot landing events. The wide flight envelope also made the airplanes an excellent choice for the Sunday flier and a good choice as a second airplane for the newcomer. Sensibly powered, with reduced control throws, these airplanes were pussy cats to fly. From the Designer Bob Richards: “The Miss Martha was designed by me in 1979. This was in the earliest days of fun- fly competition, for which this plane was designed...” ”The last MM I built was in the mid 80s, and had an OS 61 four stroke. The best flying ones, IMHO, were ones built very light and with an OS .32. “And if anyone is wondering where the name came from, I named it after my then girlfriend. She was a little miffed when I was spending so much time working on the design, so I painted her name on the side of the prototype and started flying in fun- fly contests. I had not intended to call it the Miss Martha, but the name stuck. She must have thought it was cool to have a plane named after her. She married me in '83 and we have been together ever since.” Ready to build one? Own a piece of fun fly history and fly something that didn’t arrive from overseas in a 40 foot container. Be a rebel!...Let’s go!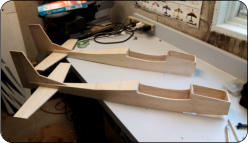

Find The Best R/C Engine
Deals


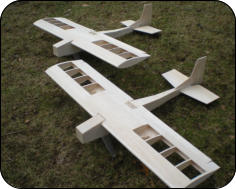
Miss Martha #1 Side View
Bird is all covered and can be set up for electric or glow. Removable top fuselage hatch was added for easy battery access if using electric power.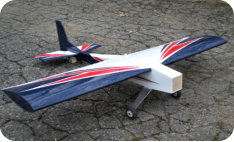
Top View
Ultracote covering was used for covering. Corsair blue and red.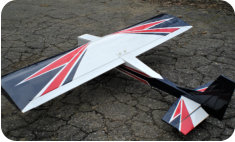


Downwind Leg
Miss Martha # 2 has not been
covered at this point but will be at
a later date or sold as is.
Miss Martha can accept a wide
range of power plants both two
and four stroke. With a 47”
wingspan a .25 makes it an easy
flier. .40 engines and above will
give it virtually unlimited
performance!
TSH DESIGNS




tslidehaven.com
Top of Page

Special thanks to outerzone.co.uk for the
Miss Martha plan and Bob Richards for his
comments.


